Project 01: Hello World
1. Introduction
For Raspberry Pi Pico beginners, we will start with some simple things. In this project, you only need a Raspberry Pi Pico and a USB cable to complete the “Hello World!” project, which is a test of communication between Raspberry Pi Pico and the PC as well as a primary project.
2. Components
 |
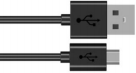 |
| Raspberry Pi Pico*1 | USB Cable*1 |
3. Wiring Up
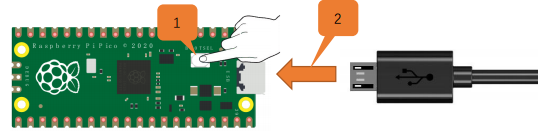
In this project, we use a USB cable to connect the Raspberry Pi Pico to the computer.
4. Test Code
Connect the pico board to the Raspberry Pi, then the Thonny can compile or debug.
Advantages:
1. You can use Thonny software to compile or debug programs.
2. In the “Shell” window, you can view the error information and output results generated during the running of the program, and you can query related functional information online to help improve the program.
Disadvantages:
1. You have to connect the pico board with the Raspberry Pi then run the Thonny.
2. If disconnecting pico board and the Raspberry Pi and rebooting them, programming may fail.
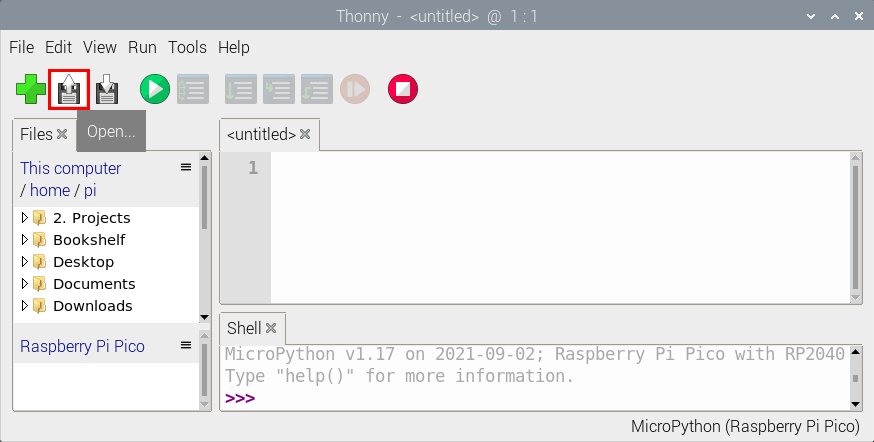
Open Thonny and click “Open…”.
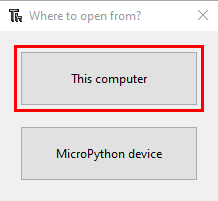
Then click“This computer”.
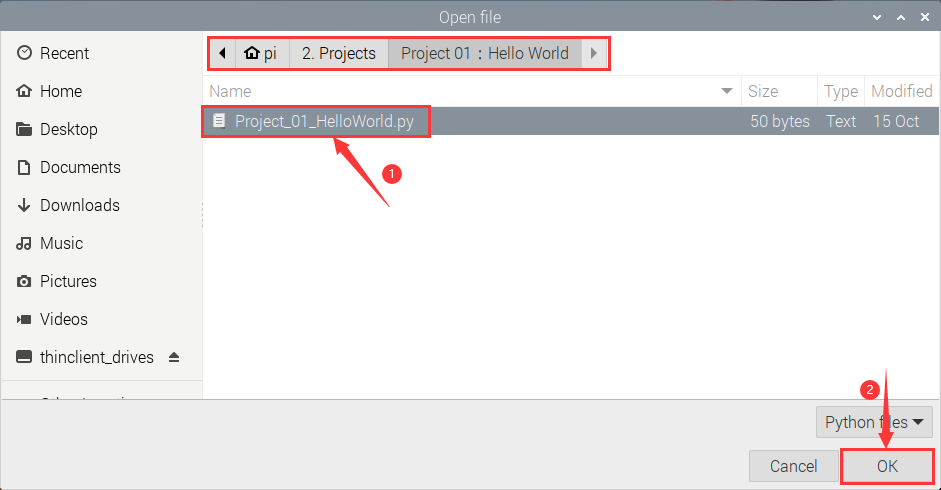
Select“Project_01_HelloWorld.py”and click“OK”.
Check the code in the folder KS3025 Keyestudio Raspberry Pi Pico Learning Kit Complete Edition\3. Raspberry Pi System\Python_Tutorial\2. Projects.
You can move the code anywhere. We copy the 2.Projects.zip to the pi folder of the Raspberry Pi system.
Path:home/pi/2. Projects
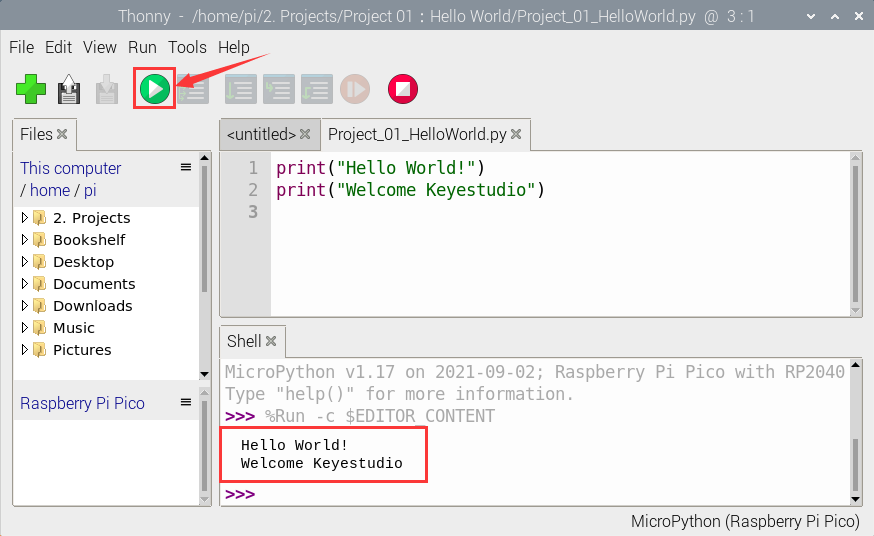
Click  to run the code Hello World!. Then Welcome Keyestudio will be displayed on the Shell.
Exit online running
When running online,click “Stop /Restart backend”to exit

Test Code:
print("Hello World!")
print("Welcome Keyestudio")